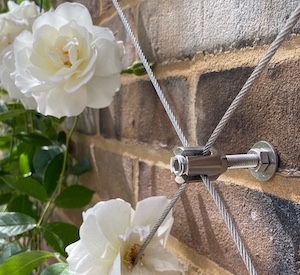
Steel wire rope trellis installation advice
To install a steel wire trellis system, you will need the following materials that are supplied with our kit:
- 3mm diameter 7×7 strand stainless steel wire rope
- Wire rope cutters
- Trellis hub brackets
- Wall plugs
- PVC end caps
We recommend the following tools to be able to install:
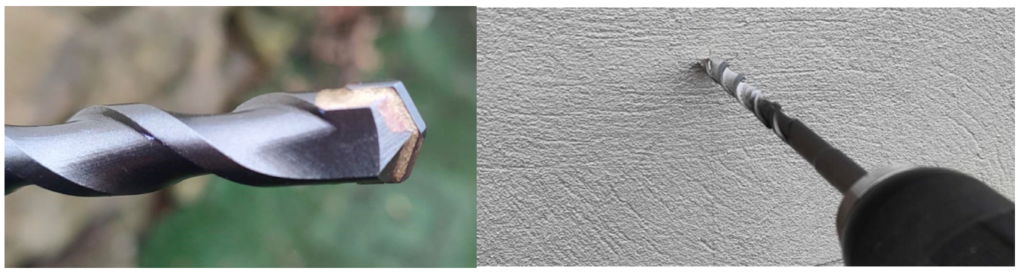
- Hammer drill with suitable 10mm masonry bit
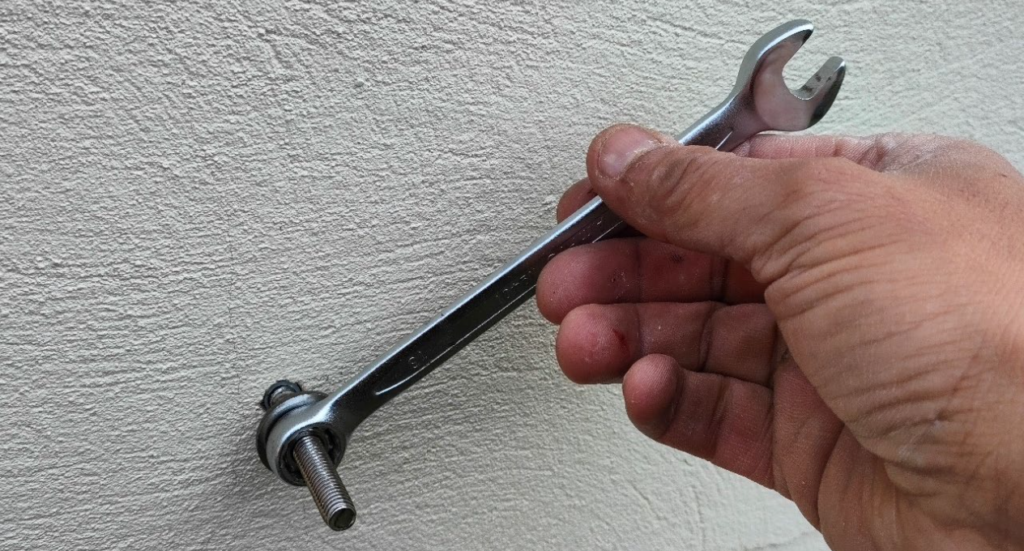
- 13mm spanner
- Spirit level
- 6mm Allen key
- Pencil or marker or chalk to mark out location point of hub
Before you start we recommend the following steps / considerations:
- Choose a good location to install your trellis, it should be a solid wall that is in good condition that receives plenty of sunlight and has good drainage
- Measure the height and width of the area where you want to install the trellis system and then work out correct spacings to suit the size of trellis kit that you have purchased (usually 500mm)
- Chalk / mark the exact locations on your wall, you may need to take the brick spacings into consideration
- Cut the wire slightly over length, the wires can be trimmed down once all wires are in place
- You do not need to stick to exact dimensions… it’s your design, you can change the shape to an ‘L’ or a ‘fan’ or a ‘diamond’ shape it is totally upto you. More fittings can be supplied if you wish need more wire and brackets etc. the extra fittings can be found here
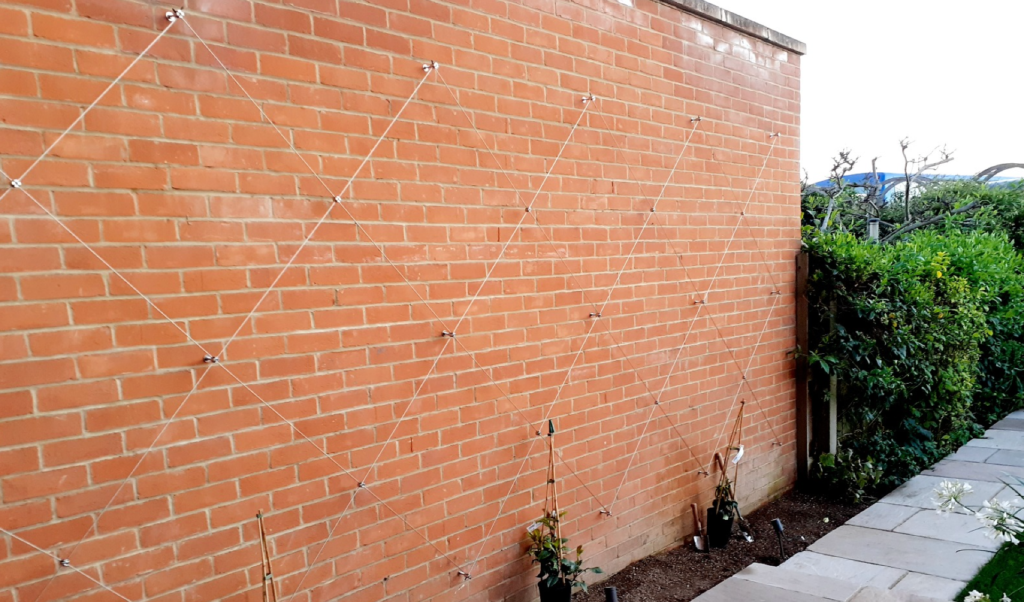
Installation

- The above grids are example layouts using 500mm spacings, this can be changed to suit
- Once you have marked out your trellis grid you will need to drill each mark using a hammer drill and a 10mm masonry drill bit (maybe worth testing the first hole to see if this combination of drill bit size and plug is holding the hub bracket to your surface)
- Insert the nylon wall plug

- At this point you should arrange the nuts and washer like the image below, this enables you to get the washer close to the wall
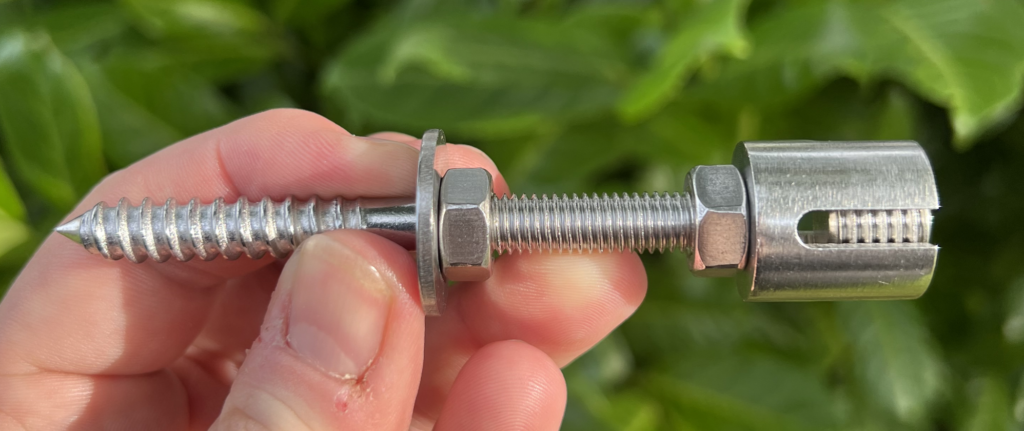
- Then screw the hub bracket into the wall plug, at this point it may be easier to screw off the top clip, you will need a 13mm spanner for this
- Screw the cross clip back onto the thread and loosen off grub screw and pass wires through
- Secure the wires into place by pulling them taut and tightening down the grub screw
- Repeat the steps until the wire has been run through all brackets
- You may need to retention some wires, this can be easily done by simply loosening off the grub screw
- Trim the ends of your wires leaving approx. 40-50mm showing, you can now cover the wire ends if you wish to do so with the PVC end caps
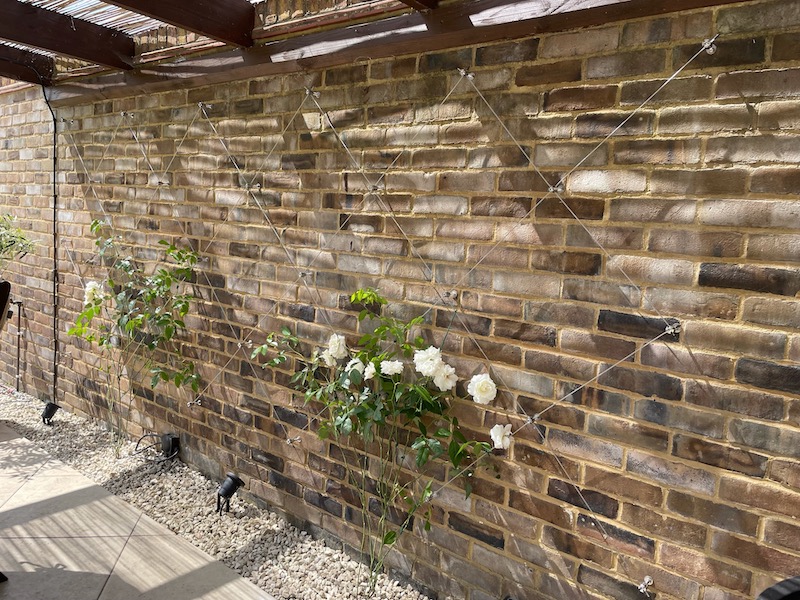
- Once your trellis is installed you can go ahead train your desired plants
Which plants are best for wire trellis systems?
- Honey Suckle Arch – Fragrance of honeysuckle, particularly heady at dusk
- Lilac Solanum – Fast growing, evergreen in mild areas
- Clematis – Perfect to twine around the stainless steel wire rope and offer a blanket of colour
- Wisteria – Elegant but vigorous, amazing bright colours
- Climbing Hydrangea – Shade tolerant
- Abutilon ‘kentish belle’ – Slender stems carry clusters of creamy orange – apricot flowers in a rich calyx
- Climbing Roses – Vigourous upright growth offers colour and warmth to any trellis wall
Be sure space your plants according to the mature size of the variety you have chosen, it is also important to regularly train your plants as they grow. With little care and attention your plants will climb and grow on your new trellis proving you with years of enjoyment
Our steel trellis kits can be found here
We also sell all of our trellis kit products individually here
Want to show off your trellis? Email us your images to sales@gsproducts.co.uk and we will be happy to host your images on our site and on our Instagram account – please supply us with your Instagram name